

back

Showing posts with label halloween. Show all posts
Showing posts with label halloween. Show all posts
Monday, June 25, 2012

Sunday, October 9, 2011
American Gothic Makeover
And on with the Halloween decor...
Sometimes I don't want to take down everything on the walls to give a room a Halloween tingle, so I shift the theme of what I already have up.
One of the new projects this year was some plates that I have in the hallway, which is usually done in a shoe decor.


I made a template the size of the center of the plates and then cut orange scrap booking paper to be a background for each.


Then I Googled "American Gothic" and found some really cool interpretations of the creeped out farm couple.

Using the template, cut each image to size, then laminate the photos with the orange paper behind. I like the laminating because they can be used for more than one year, but that isn't necessary.

Cut out the images and tape to the center of each plate and there ya go...instant decor!!


![]()
Sometimes I don't want to take down everything on the walls to give a room a Halloween tingle, so I shift the theme of what I already have up.
One of the new projects this year was some plates that I have in the hallway, which is usually done in a shoe decor.


I made a template the size of the center of the plates and then cut orange scrap booking paper to be a background for each.


Then I Googled "American Gothic" and found some really cool interpretations of the creeped out farm couple.

Using the template, cut each image to size, then laminate the photos with the orange paper behind. I like the laminating because they can be used for more than one year, but that isn't necessary.

Cut out the images and tape to the center of each plate and there ya go...instant decor!!


Thursday, September 1, 2011
Skulls on a Red Tree
So as much as I love Halloween and everything it stands for, I don't like to spend a lot of money. Why??? Because if you buy something expensive and showey for your house then everyone else has the exact same thing. (Besides that, I'd rather loose all my spendin' money in a slot machine...yeah I know, gambling is pointless...but get over it) Also, living in a small town, everyone tends to shop at the same stupid store and decorate with the same stupid stuff.
I prefer to put on my creative witchy hat and make things that are one of a kind.
For example, this year I have created a skull tree! I got these most awesome skulls at the local dollar store (8 for $1.00) and drilled holes in their little tiny heads. I ran with my love of beading and beaded some of their eyes for a glowey creepy feel. Then I popped the little buggers over the pre-strung lights on this awesome red X-mas tree I got at a yard sale last some ($.50).
Now throw some ribbon on and WAA-LAA!!! Instant original spook!


Wednesday, August 24, 2011
The Final Visit

Musty stench in the wind
Etched rugged stones glancing over the slope
The rotting flesh
Collapsing of the heart
Crushing their own chambers
Suffocating lineage
Family ties stifled
The snap of a branch
The soul casts no shadow
The visit is brief
A calling of confirmation
The breath of life exhaled....
Sunday, November 7, 2010
Reflections of the Season
Now that October has come and gone, it's time to reflect back on all the magic of the season...

I can do a lot of things, sewing is not one of them. I amazed myself making my youngest her bat costume from a hoodie and umbrella. Mind you that I used embroidery thread and hot glue...but it worked! I even whipped up some ears with tulle and a head-band...Sometimes I amaze myself!

The pumpkin was carved and set out on Halloween eve...the remembrance candles were lit and apple offering was left. (and may I add the apple was gone in the morning...yes I know it was probably raccoons, but.....)


There was plenty of time spent admiring the beauty of the season.

Then it was time to put it all away...somehow it looked like Halloween threw up in my kitchen....
Thursday, October 7, 2010
Dishing Halloween

What is it about this season of fall and foliage that inspires so many of us? The ideas and inspiration floating around are overwhelming. I see so many great projects that it is hard to decide where to start. I continually have to remind myself that I cannot do it all in one year and pace myself. I tend to take the things that really make my pulse race and run with them.
One of my "omgosh" moments this year came from "Creepy Cupcakes" who linked to an amazing skull plate over at "The Answer Is Chocolate". I'm not one to take a great idea and copy it so I added my own flavor to the work.
So to start I gathered my supplies. Mod Podge, a glass plate ($1 @ Walmart), some graphics from random image sites (I used the search term Vintage Halloween), paint brush, scissors, craft paint and a plastic bag to protect the carpet and put the paper scraps in. Oh yes, did I mention that I was working on the carpet due to the fact that the Steelers were playing and I didn't want to miss a play. Talk about a great day...Halloween crafting and Pittsburgh Football....Hell Yeah!

Select the theme you want for the plate and cut out your images. I chose a full circle cut-out for the center and more detailed for the edges. Coat the front of the image with Mod Podge and place it on the back plate with the image showing through to the front. When adhered brush the podge around the edges to secure.

Let dry for approx 15 min then begin the painting process. I used ordinary crafting pain and a tea towel. I dab the towel into the black paint first and begin a sponging pattern. After working the whole way around do the same with the lighter color, I used orange. When these are no longer tacky to the touch I take the black around the outer edges just to finish it off and fill in any gaps.


This method is ultra forgiving and leaves so much room for creativity. When the paint is dry I coat the entire back with another layer of Mod Podge. Clean up the front and BAM instant Halloween art. Love it!
Monday, October 4, 2010
Tree Confetti
Some people feel it is necessary to rake leaves...and much to the dismay of my neighbors, I am not on of those people. I think autumn should be celebrated with confetti from the trees.
They dance around the yard and the cats love to chase them. They end up in the garden and make wonderful compost. And if nothing else they are just lovely and I like to take pictures of them.


They dance around the yard and the cats love to chase them. They end up in the garden and make wonderful compost. And if nothing else they are just lovely and I like to take pictures of them.


Sunday, October 3, 2010
Vintage Creepiness
I am so inspired by everything of this season! Two things I love...Halloween and Vintage. These great skeleton hands are sold (again, at the dollar store) in packages of 10. I have a vast collection of old buttons, babbles and beads that make each one a creepy original. The pins are sold at any craft store and when adhered with a high-bond crafting glue, are pretty much set for life.


Friday, October 1, 2010
October Has Arrived!!
You don't have to spend a lot to scare a lot. The way to make your home original is not by going and buying all the pre-made decorations, but instead, try adding your own flair to inexpensive trinkets. I do most of my Halloween shopping at yard sales, garage sales and craft stores. Nothing is as haunting as a one of a kind hand-made treasure!
This picture hangs in my hall year-round. It is an original photo and embroidered floral design of my great-great grandparents (very cool). I matted it and found this great old frame at an auction. When the season rolls around I add this bloody hand-print cling (which I paid .50 cents for) and waa-laa...spooky decor!

The dollar stores have some great little tid-bits that you can really run with. These are a set of 9 styrofoam skulls on a piece of binders twine...simple...perfect curtain tie-backs or draped in an inexpensive leaf swag.


These little flighty bats come ina bag of 10 (again at the dollar store) and when hung on string can haunt any place imaginable. I have hung them from lamp shades and curtains in the past. This year I decided they would creep in a house plant.


Keep checking back as I show and tell all month...have I mentioned how much I loe this time of year?
Friday, September 24, 2010
Charmed, I'm Sure

Believe it or not, everything I create is not based on Halloween...okay, yeah it really is...
Charm bags/Spell pouches are popular year round, but especially around the Samhain season. I think everyone finds their inner witch around this time of year and tries to make it work. (Ooooh, I sound like a Pagan Tim Gunn)
So this is one of my favorites that I did. Made from a wide wired ribbon and so fun to decorate. The possibilities are endless. The intent on this one was (obviously) a love spell/charm.
I find these are great for keeping gemstones organized or for mixing up the right concoction of herbs and tucking it into your bag.
Friday, September 17, 2010
Along Came A Spider...
So I know this isn't something I made or created, but I did take the pictures...that should count right?


Thursday, August 26, 2010
Harvest Creations...Autumn Salsa
Nothing says fall like a kitchen that smells like peppers and tomatoes cooking in the roaster. This year I decided to start of the preserving with some salsa made from our garden.

I don't like to follow anybody's recipe specifically, because it's mostly done to taste. The steps I follow are rinsing the tomatoes, floating them in a pot of boiling water until the skins begin to crack and transferring to a bowl of cold water to aid in the peeling process. I find that if they sit in the cold water for about 15 minutes that they are much easier to peel and core. (of course keeping the skins and cores to put into our compost bin)


Next I like to chop about 1/3 of the onions I plan on using. Simply peel and quarter to size for the chopper. I pulse it several times to make them very fine. I also do this with about 1/3 of the sweet red and green peppers to make the flavors really combine with the juices from the tomatoes. Then I take the remaining 2/3 of the onions and green/red sweet peppers and cut them into large size chunks and add to the tomato mixture.


Now here's where you pick your degree of hotness. Rather than adding the hot peppers in chunks (I hate getting one hot bite) I cap off the peppers and cut them down whole, leaving the seeds intact (because we all know that's where the heat is). Add them to the chopper and pulse down to an extremely fine consistency.


I season with the usual...salt, pepper, garlic salt/powder, sugar and vinegar. I taste test regularly to check the spice and vary it as needed. After cooking for about 12 hours on very low temps...cool...and bag in serving sizes for the freezer. I use to can in jars, but freezing keeps the flavor so much better, in my opinion. Now in the middle of winter when you get a hankering for the taste of fall, just thaw out some home-made salsa and 'ole!


I don't like to follow anybody's recipe specifically, because it's mostly done to taste. The steps I follow are rinsing the tomatoes, floating them in a pot of boiling water until the skins begin to crack and transferring to a bowl of cold water to aid in the peeling process. I find that if they sit in the cold water for about 15 minutes that they are much easier to peel and core. (of course keeping the skins and cores to put into our compost bin)


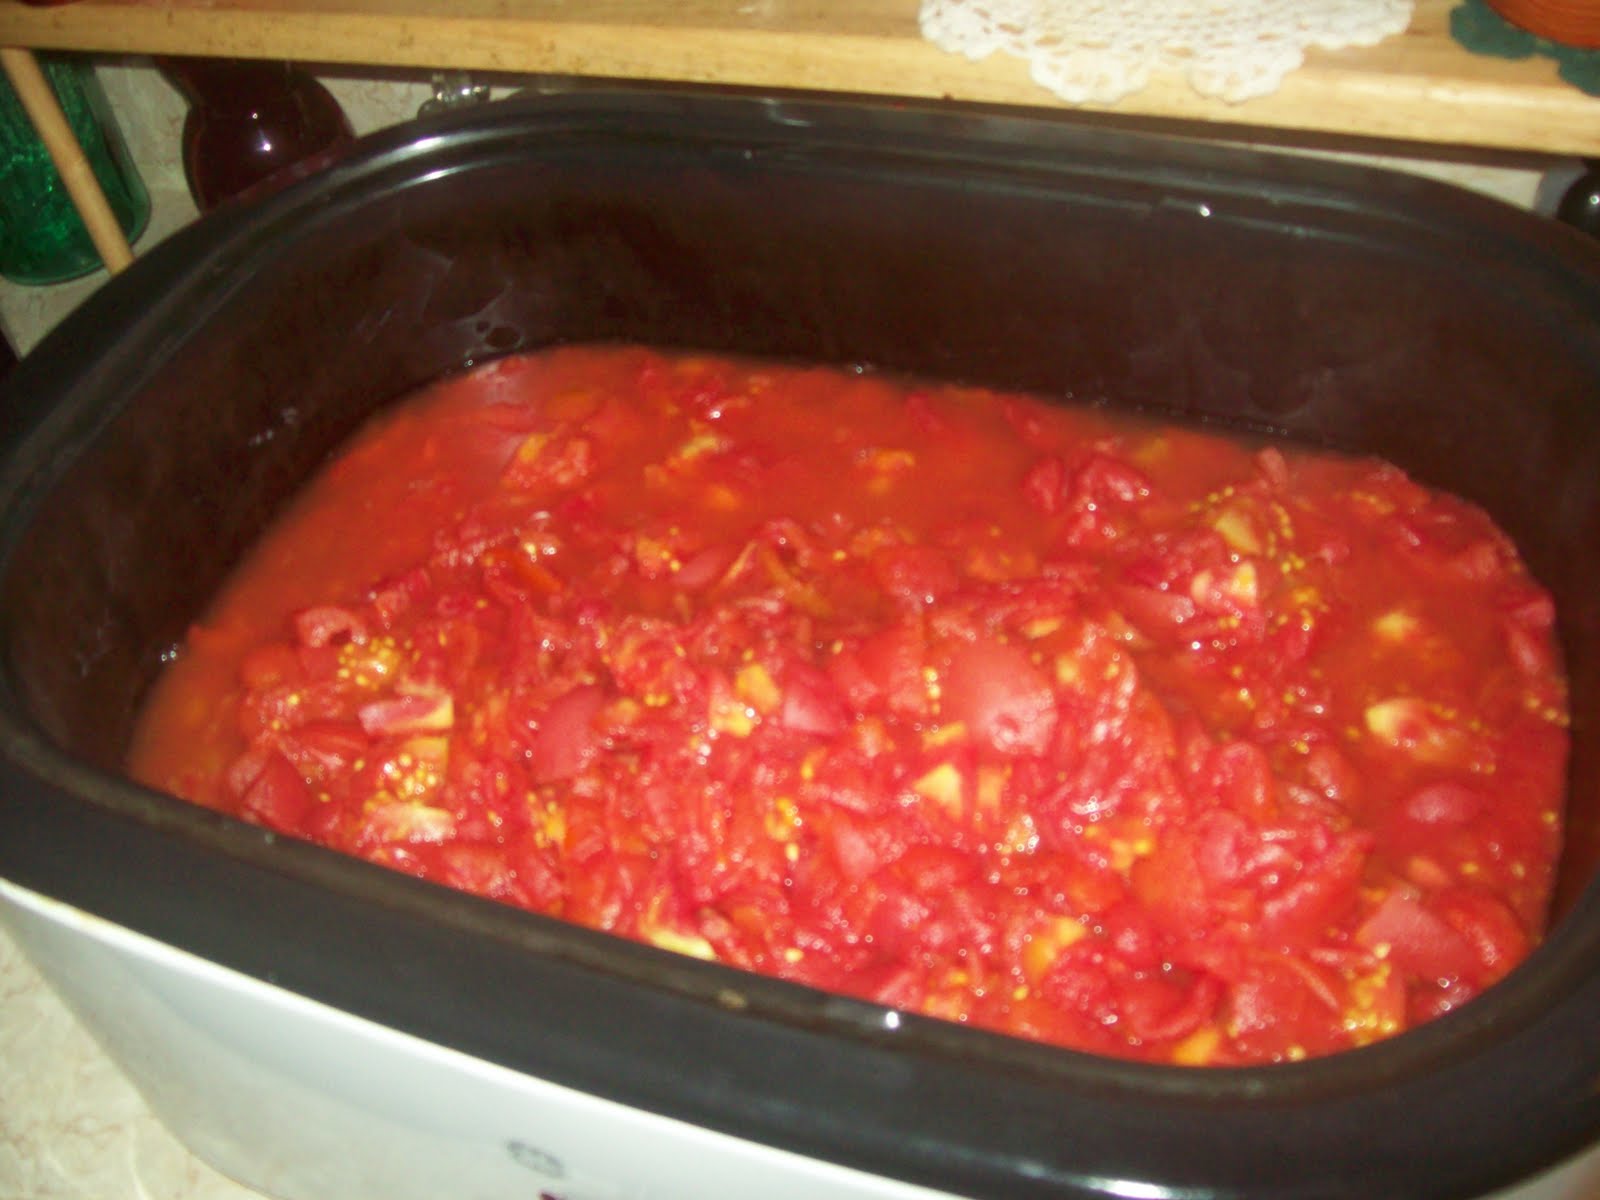
Next I like to chop about 1/3 of the onions I plan on using. Simply peel and quarter to size for the chopper. I pulse it several times to make them very fine. I also do this with about 1/3 of the sweet red and green peppers to make the flavors really combine with the juices from the tomatoes. Then I take the remaining 2/3 of the onions and green/red sweet peppers and cut them into large size chunks and add to the tomato mixture.


Now here's where you pick your degree of hotness. Rather than adding the hot peppers in chunks (I hate getting one hot bite) I cap off the peppers and cut them down whole, leaving the seeds intact (because we all know that's where the heat is). Add them to the chopper and pulse down to an extremely fine consistency.


I season with the usual...salt, pepper, garlic salt/powder, sugar and vinegar. I taste test regularly to check the spice and vary it as needed. After cooking for about 12 hours on very low temps...cool...and bag in serving sizes for the freezer. I use to can in jars, but freezing keeps the flavor so much better, in my opinion. Now in the middle of winter when you get a hankering for the taste of fall, just thaw out some home-made salsa and 'ole!


Subscribe to:
Posts (Atom)