back

Showing posts with label fall. Show all posts

Tuesday, October 4, 2011

Temporary Art

For me, one of the most beautiful things about autumn is the spider webs. On a damp, cool morning the yard is filled with these beautiful pieces of art...so much work for something that wasn't there yesterday and won't be there tomorrow. Although I m not a fan of the creepy 8-legged ones, how can you not appreciate the amazing creations...


Sunday, November 7, 2010

Reflections of the Season

Now that October has come and gone, it's time to reflect back on all the magic of the season...


I can do a lot of things, sewing is not one of them. I amazed myself making my youngest her bat costume from a hoodie and umbrella. Mind you that I used embroidery thread and hot glue...but it worked! I even whipped up some ears with tulle and a head-band...Sometimes I amaze myself!


The pumpkin was carved and set out on Halloween eve...the remembrance candles were lit and apple offering was left. (and may I add the apple was gone in the morning...yes I know it was probably raccoons, but.....)


There was plenty of time spent admiring the beauty of the season.


Then it was time to put it all away...somehow it looked like Halloween threw up in my kitchen....

Monday, October 18, 2010

Soup For A Cool Autumn Day!

Nothing warms you up on a brisk fall afternoon like some homemade soup. The days are starting to cool down here in Western Pa, so it's time to heat up the kitchen. One of my favorite and most simple recipes is cheesey potato soup. This was one of my comfort foods growing up, and it still does the trick today.

One of the best parts of the recipe is that you can use less or more of each ingredient to your liking.

Peel and rinse potatoes. I used 16 small potatoes for this batch.


Cut into 1/2" thick slices, or cube if you prefer.


Cover with water, making as much as you will need for the broth. Add 1 stick of margarine and onions as you like. For this batch I added 3 small onions, chopped. Occasionally, depending on what's in the veggie crisper, I add diced carrots or celery. Season with salt, pepper, garlic salt...and again any other spices that are to your tasting.


Let the mixture boil on medium for 30-45 minutes. To add a cheesy kick, float slices of American cheese on the top. I used 10 slices for a large pot. It is best to use American as it becomes smooth when melted. I've tried cheddar, mozzarella, provolone and they just seem to clump on the bottom. I add half the slices and let dissolve for about 10 min and stir in, then do the same for the second half of the slices.


Yum! I like the soup best served over refrigerator biscuits or fresh home-made bread!!

Thursday, October 7, 2010

Dishing Halloween


What is it about this season of fall and foliage that inspires so many of us? The ideas and inspiration floating around are overwhelming. I see so many great projects that it is hard to decide where to start. I continually have to remind myself that I cannot do it all in one year and pace myself. I tend to take the things that really make my pulse race and run with them.

One of my "omgosh" moments this year came from "Creepy Cupcakes" who linked to an amazing skull plate over at "The Answer Is Chocolate". I'm not one to take a great idea and copy it so I added my own flavor to the work.

So to start I gathered my supplies. Mod Podge, a glass plate ($1 @ Walmart), some graphics from random image sites (I used the search term Vintage Halloween), paint brush, scissors, craft paint and a plastic bag to protect the carpet and put the paper scraps in. Oh yes, did I mention that I was working on the carpet due to the fact that the Steelers were playing and I didn't want to miss a play. Talk about a great day...Halloween crafting and Pittsburgh Football....Hell Yeah!


Select the theme you want for the plate and cut out your images. I chose a full circle cut-out for the center and more detailed for the edges. Coat the front of the image with Mod Podge and place it on the back plate with the image showing through to the front. When adhered brush the podge around the edges to secure.


Let dry for approx 15 min then begin the painting process. I used ordinary crafting pain and a tea towel. I dab the towel into the black paint first and begin a sponging pattern. After working the whole way around do the same with the lighter color, I used orange. When these are no longer tacky to the touch I take the black around the outer edges just to finish it off and fill in any gaps.


This method is ultra forgiving and leaves so much room for creativity. When the paint is dry I coat the entire back with another layer of Mod Podge. Clean up the front and BAM instant Halloween art. Love it!

Thursday, August 26, 2010

Harvest Creations...Autumn Salsa

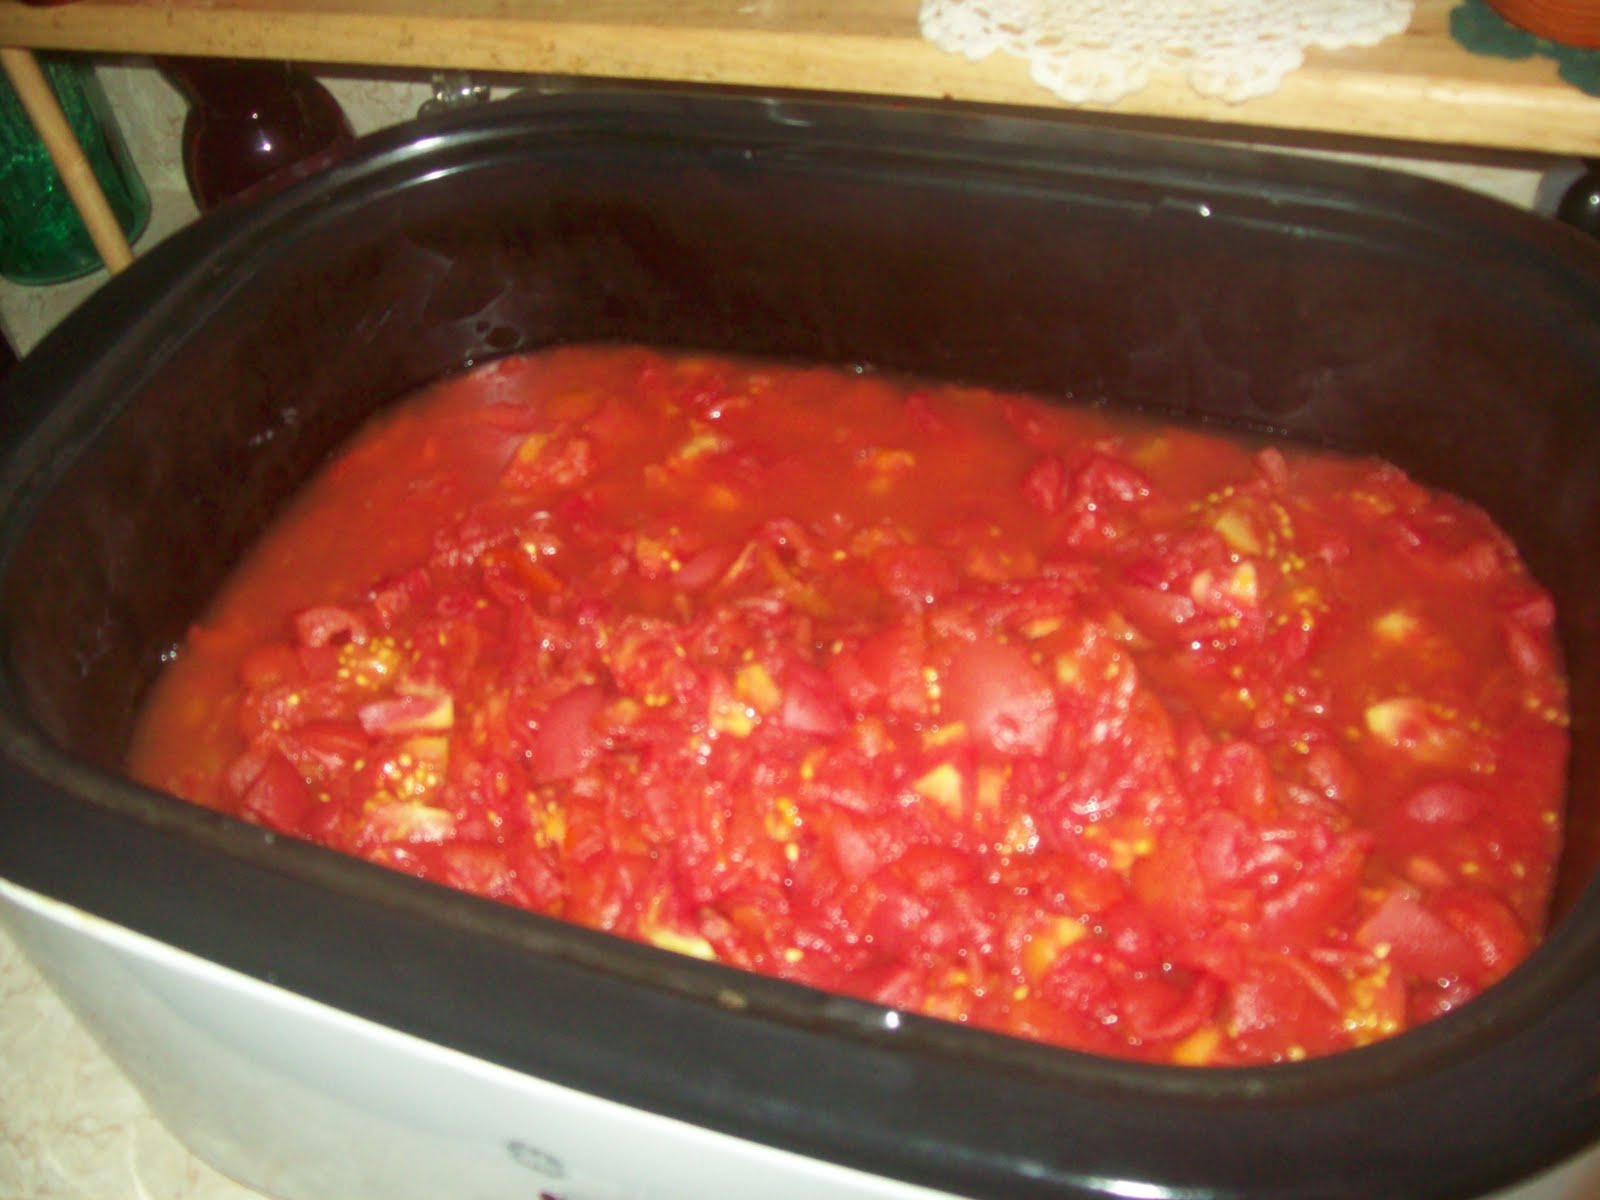
Nothing says fall like a kitchen that smells like peppers and tomatoes cooking in the roaster. This year I decided to start of the preserving with some salsa made from our garden.


I don't like to follow anybody's recipe specifically, because it's mostly done to taste. The steps I follow are rinsing the tomatoes, floating them in a pot of boiling water until the skins begin to crack and transferring to a bowl of cold water to aid in the peeling process. I find that if they sit in the cold water for about 15 minutes that they are much easier to peel and core. (of course keeping the skins and cores to put into our compost bin)


Next I like to chop about 1/3 of the onions I plan on using. Simply peel and quarter to size for the chopper. I pulse it several times to make them very fine. I also do this with about 1/3 of the sweet red and green peppers to make the flavors really combine with the juices from the tomatoes. Then I take the remaining 2/3 of the onions and green/red sweet peppers and cut them into large size chunks and add to the tomato mixture.


Now here's where you pick your degree of hotness. Rather than adding the hot peppers in chunks (I hate getting one hot bite) I cap off the peppers and cut them down whole, leaving the seeds intact (because we all know that's where the heat is). Add them to the chopper and pulse down to an extremely fine consistency.


I season with the usual...salt, pepper, garlic salt/powder, sugar and vinegar. I taste test regularly to check the spice and vary it as needed. After cooking for about 12 hours on very low temps...cool...and bag in serving sizes for the freezer. I use to can in jars, but freezing keeps the flavor so much better, in my opinion. Now in the middle of winter when you get a hankering for the taste of fall, just thaw out some home-made salsa and 'ole!


Sunday, August 1, 2010

It Has Begun...

Yes, it's true...I do start decorating for Halloween in July, but only small bits at a time...it's just that I love the way the house looks when it's all creepy and stuff and I usually have so many craft projects going on that I wanna be sure to get them all up.


This is a super cool floral swag I found at the Goodwill last year. I do believe it cost 2.99. I knew the color was great and that it just needed some spice. I added some artificial orange mums, some great orange ribbon and wired in some plastic skeleton parts and what a great piece it turned out to be!!


First thing you will probably notice is this most excellent witch boot stocking (which is also my Xmas stocking) but take a moment to look above. Yes! Those are my demon children! Each year we gather all the craft supplies and I let them "creepify" their school pictures. The decorations are on the outside of the glass so they are easily removed, if we want to.....


I adore the Chinese lanterns that grow in the garden. They are so stunning as well as represent the fall season. I got this empty grapevine swag at a discount store for like $2.99 and wired the lanterns on. It's best to use the orange as well as green ones to create dimension. I added plain orange ribbon, but you could go with any type that matches your decor. The lanterns are very delicate to work with, but so completely worth it!! The wreath will last for years, stored in a tied garbage bag when not on display.

Until next time...BOO!