back

Thursday, August 26, 2010

Harvest Creations...Autumn Salsa

Nothing says fall like a kitchen that smells like peppers and tomatoes cooking in the roaster. This year I decided to start of the preserving with some salsa made from our garden.


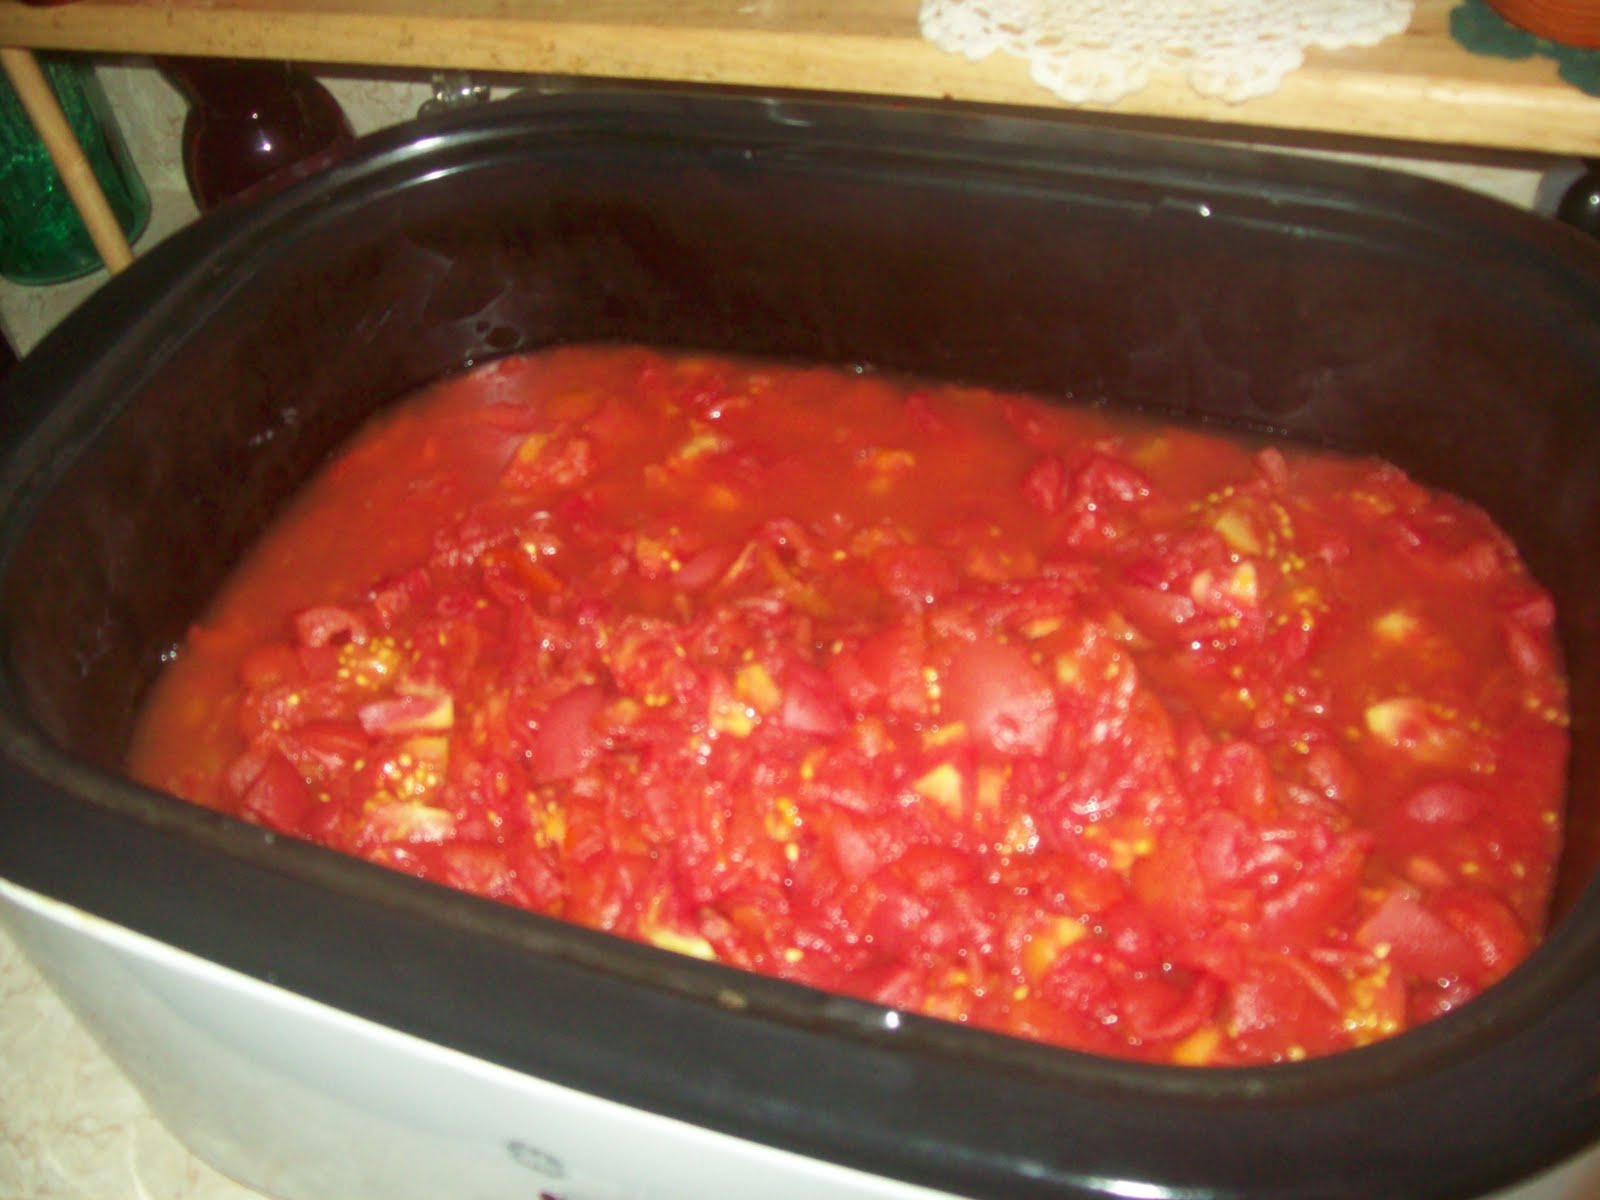
I don't like to follow anybody's recipe specifically, because it's mostly done to taste. The steps I follow are rinsing the tomatoes, floating them in a pot of boiling water until the skins begin to crack and transferring to a bowl of cold water to aid in the peeling process. I find that if they sit in the cold water for about 15 minutes that they are much easier to peel and core. (of course keeping the skins and cores to put into our compost bin)


Next I like to chop about 1/3 of the onions I plan on using. Simply peel and quarter to size for the chopper. I pulse it several times to make them very fine. I also do this with about 1/3 of the sweet red and green peppers to make the flavors really combine with the juices from the tomatoes. Then I take the remaining 2/3 of the onions and green/red sweet peppers and cut them into large size chunks and add to the tomato mixture.


Now here's where you pick your degree of hotness. Rather than adding the hot peppers in chunks (I hate getting one hot bite) I cap off the peppers and cut them down whole, leaving the seeds intact (because we all know that's where the heat is). Add them to the chopper and pulse down to an extremely fine consistency.


I season with the usual...salt, pepper, garlic salt/powder, sugar and vinegar. I taste test regularly to check the spice and vary it as needed. After cooking for about 12 hours on very low temps...cool...and bag in serving sizes for the freezer. I use to can in jars, but freezing keeps the flavor so much better, in my opinion. Now in the middle of winter when you get a hankering for the taste of fall, just thaw out some home-made salsa and 'ole!


Wednesday, August 18, 2010

Gravestone Placemats


If you are having your very own Halloween Tea then gravestone place mats are a must have! These were done very last minute and next time I want to do a lace or paper border. But you get the idea.

Luckily enough, there is a great old cemetery across the road so me and the kiddos tromped over and did some stone rubbings. From my handy-dandy computer I printed out some vintage Halloween images(whatever strikes your fancy). And then with my stamper kit I made small clippings with some colored paper.

Laid them all out on the sheets and ran it through the lamination machine...Waa Laa...

Like I said before, the next batch will have mucho more detail and finishing. If you have a specific guest list you can even search for their names on old stones, or their birthdate...so many freakin' options here!


Monday, August 16, 2010

Beading is better than beating someone...

Okay, so you've discovered my secret. I tuck myself away in the depths of my lair and pull out my needles and there it begins...I bead. I don't know why playing with tiny pieces of plastic and gems is so therapeutic for me...but let me tell you that it has saved more than one life when I retire to my beading den. I have ordered tons of skull and witch charms to get me going. This year I am planning on doing more Halloween type pieces than normal and unfolding my crinkly old bat wings on eBay. Here's one that I did the other night...I call it the slit throat choker....mwahahahaahahah


Friday, August 13, 2010

Halloweens of Years Past

I love looking back and remembering past Halloween costumes. So, I decided to make a collage of some of my favorite pictures of my kiddos and friends. Although I despise some years photos with the store-bought costumes, at least the kids were happy. And that's all that really matters.

I always make sure to get duplicate copies of my prints so I have 1 to work with and 1 to keep in the album. But really, how often do you get to look at the album? With this poster size wall hanging I get to see their spooky little smiles every day of the season.
I edged it with an orange and black ribbon and throughout I added little details such as vintage Halloween images and scrapping cut-outs. So easy, and such a fun project.


Wednesday, August 4, 2010

R.I.P Doyle


Perhaps you have heard the rumors, and yes it is true. Doyle the Gargoyle our 7 ft friend, who has lit up our yard for many a Halloween past, has finally left our world. I was shocked and horrified to discover that my old friend had passed....

So now the hunt is on for something new and creative. Something other than the standard blow-ups at W-mart...seeing as how there is not much of a selection here in rural Pennsylvania, all the houses seem to have the same decorations...and that, my spooky friend, is not my style.

We did get a bow-flex last year (which is sitting in the basement collecting cob-webs and dust) that came in an awesome giant box which I plan on using to create some type of coffin for on the covered part of the deck...but as for in the yard....I'll keep you posted on my updates...wish me luck. I'll always love you Doyle...xoxox

Sunday, August 1, 2010

It Has Begun...

Yes, it's true...I do start decorating for Halloween in July, but only small bits at a time...it's just that I love the way the house looks when it's all creepy and stuff and I usually have so many craft projects going on that I wanna be sure to get them all up.


This is a super cool floral swag I found at the Goodwill last year. I do believe it cost 2.99. I knew the color was great and that it just needed some spice. I added some artificial orange mums, some great orange ribbon and wired in some plastic skeleton parts and what a great piece it turned out to be!!


First thing you will probably notice is this most excellent witch boot stocking (which is also my Xmas stocking) but take a moment to look above. Yes! Those are my demon children! Each year we gather all the craft supplies and I let them "creepify" their school pictures. The decorations are on the outside of the glass so they are easily removed, if we want to.....


I adore the Chinese lanterns that grow in the garden. They are so stunning as well as represent the fall season. I got this empty grapevine swag at a discount store for like $2.99 and wired the lanterns on. It's best to use the orange as well as green ones to create dimension. I added plain orange ribbon, but you could go with any type that matches your decor. The lanterns are very delicate to work with, but so completely worth it!! The wreath will last for years, stored in a tied garbage bag when not on display.

Until next time...BOO!